The belt buckle is 3d printed and the black buttons on the drawstrings are also 3d printed in two halves and glued together with the Kevlar cord.
Alp Hiking pants
by Anonymous
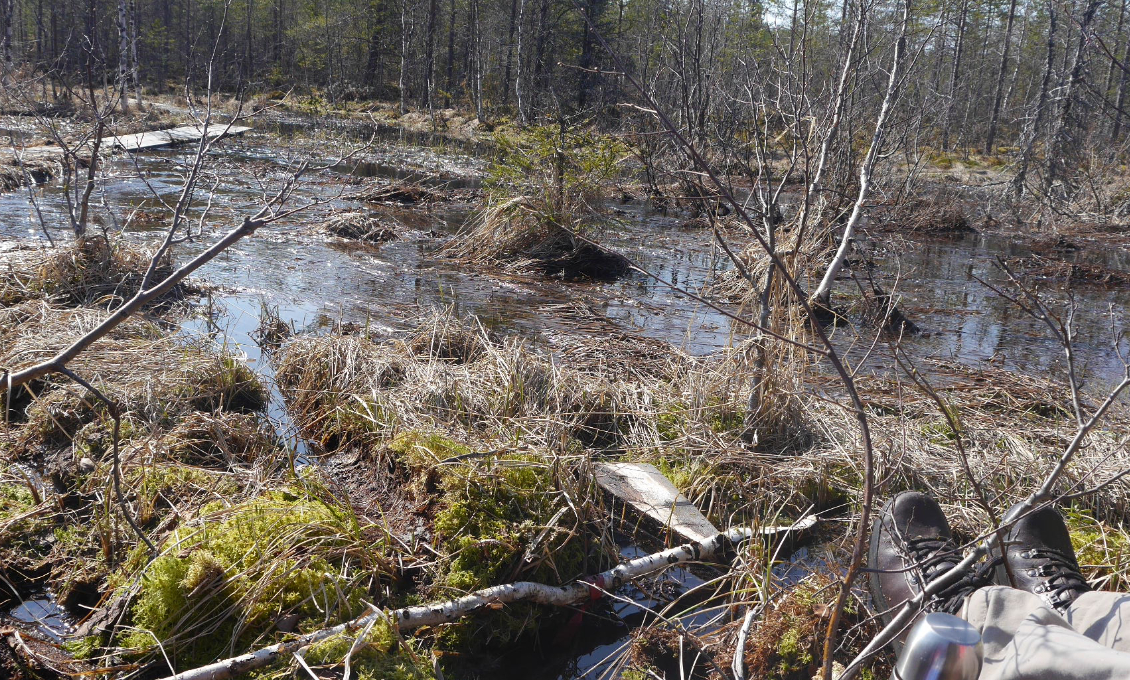
I just finished my first pair of trousers. There were a few small mistakes but that's to be expected since it's my first time sewing this type of garment. I developed the pattern a bit with reinforcement at the bottom on the inside of the legs and a short belt of nylon webbing that I sewed just in front of the hip bone.
Belt buckle
Sewing tips
Knee Reinforcements
I have been trying to pin the knee pieces for two hours and the knee darts make the fabric never stay in place. Either it becomes a big bag on the leg part and if I force straighten that flat the leg becomes crooked.
Question:
Is it possibly so that you sew the reinforcement first and the knee darts afterwards?
ATB answer:
First of all, sewing the darts afterwards is very difficult, of course you can try to sew each layer separately after sewing on the top and bottom. But you might find it difficult to topstitch the reinforcements darts, especially on the side seam. Try to sew the front pants darts outwards and iron them down, as mentioned in the section tips.
Sewing tip #1
ATB anwser:
If you have already sewn the darts, including topstitching the reinforcement pieces, I suggest you start by matching the dart points and dart seams of the front part with the reinforcement piece. After that pin and sew the top edge first and then do the bottom edge, following the same principle.
Sewing tip #2
ATB answer:
Another way is to first pin the dart seams to each other, then place the knee darts on the edge of the table or ironing board, so the other half of the leg hangs down, pin and sew the top edge first and repeat for the bottom part.
A: Thanks for the help, I tried putting the trouser leg over the edge of the table and it worked very well.
Shop patterns
Share story
Related Story
Eta-Proof Hiking Pants
by Birgit